5 Tips for Photographing Snow
We have been getting a ton of snow. I’m not even exaggerating. We had almost a foot on Monday and ice storm yesterday that has left us without power. I’m trying to stay positive.
{Ok, I am still a little bitter about all the snow and would like to have a word with that Groundhog}.
However, this are some good things that come from a fresh snow fall. Snow days. Hot chocolate. And getting outside and taking some beautiful photographs of the winter wonderland.
There’s just no denying it. There’s something about a fresh blanket of snow that makes everything and anything look beautiful!
Since we are getting ready for even more snow here in the Northeast, I thought I would share with you some of my tips on taking those amazing photos of that white fluffy stuff.
5 Tips for Photographing Snow
1. Meter. Metering properly is one of the biggest challenges when photographing snow. When you are photographing your subject, your camera’s meter measures the light reflecting off of them. That measurement is then used to determine the appropriate exposure settings {shutter speed, f/ stop, and ISO}. Universally, the system is designed to render subjects as middle gray or 18% gray. What does that mean? Simply, most cameras assume that everything reflects 18% of the light.

When photographing snow, however, that is not the case. Because snow is so reflective, your camera will compensate by underexposing. This will make your snow pictures look dull and muddy. To avoid this, it’s best to take a reading of the snow directly and the compensate. For example, for clean, sunlit snow, add +3 stops to the light meter. Shooting snow on a cloudy day? Add +2 stops to the light meter. If it’s a gray day or your snow is getting dirty, use the exact meter reading.
2. Read your histogram! If you don’t know how, read your manual. It’s really not hard, I promise! By reading your histogram, you can avoid “blowing your whites” and will help you achieve proper exposure. When reading the histogram on a snowy day, a properly exposed photo will have a histogram that is more on the right.

3. Use the right white balance. When you are photographing anything detrimentally white, you may notice a blue hue in the white. The higher amounts of UV rays reflected by the snow are causing this blue hue. To combat this, you have to use the right white balance! Try your different white balance settings until you get the right one. Or set a custom white balance if you know how!
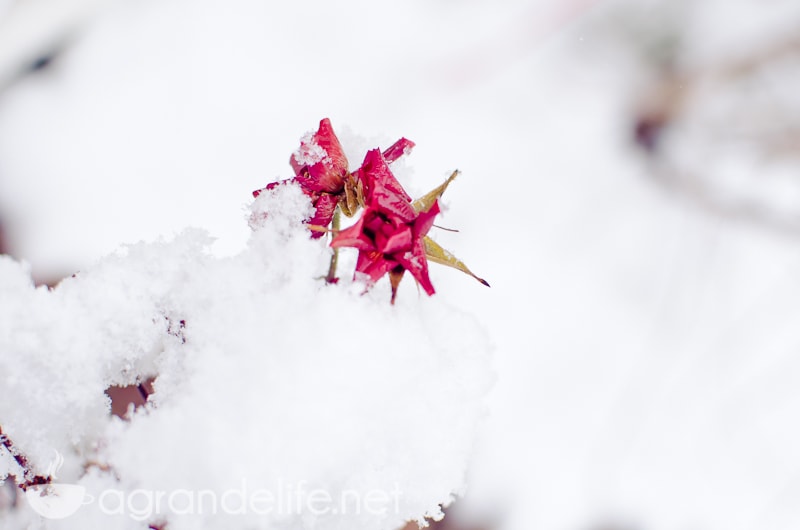
4. Keep your photo simple. The thing about shooting a winter scene is the calm and peacefulness that the snow brings. Don’t try to cram all of the winter elements into one picture. Do look for contrasts and pops of color! Red objects, like berries, look very strong when photographed against the white snow.
5. Take care of your camera! When you are outside shooting in cold temperatures, you need to try and keep your camera warm. When I take a break from shooting, I’ll slip my camera into my jacket to keep it nice and toasty! Also, if it’s below freezing, avoid breathing on your camera. You don’t want any condensation getting into your camera body! The cold weather will also drain your batteries quicker.
greaT POST, i could argue with the histogram part though…whenever its snow i just + 2 stops…thats usually enough,thx for sharing