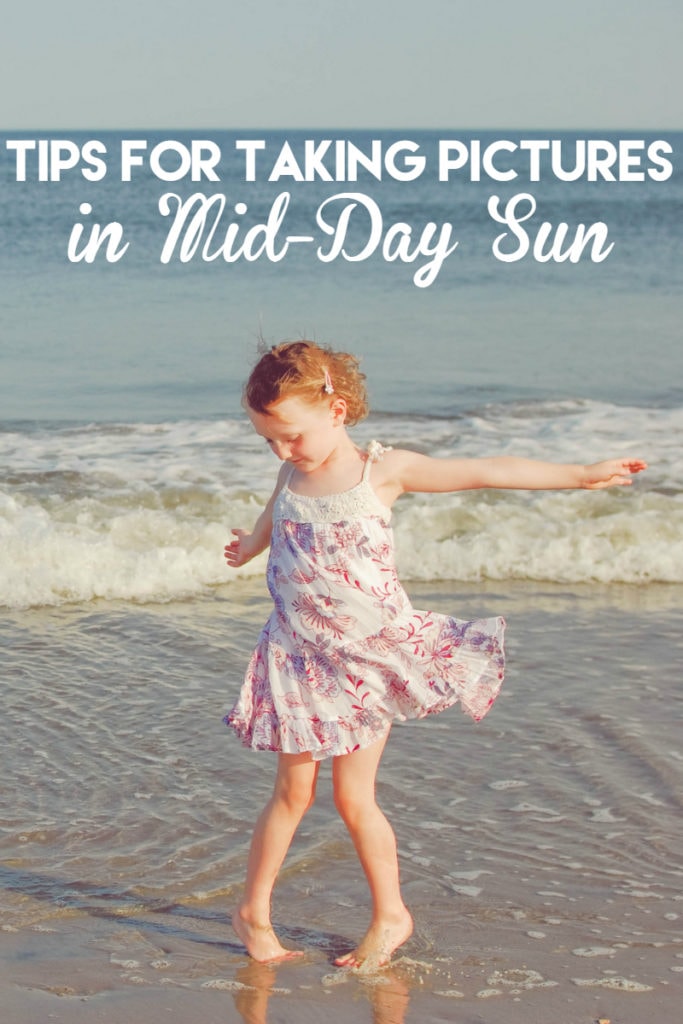
Tips for Taking Pictures in Mid-Day Sun
Taking pictures in mid-day sun is not on the top of my list. The lighting is never ideal and can be a little complicated when it comes to your settings. I much prefer shooting the few hours after sunrise or the few hours before sunset, aka the golden hours. Talk about the ideal lighting!
But situations do arise where I can’t have the perfect lighting. Like on vacations or fun day trips. Or a bright summer day. Instead of putting the camera away and waiting for the opitmal lighting conditions, I follow the below tips to get the best pictures!
Tips for Taking Pictures in Mid-Day Sun
Always put the sun behind your subject.
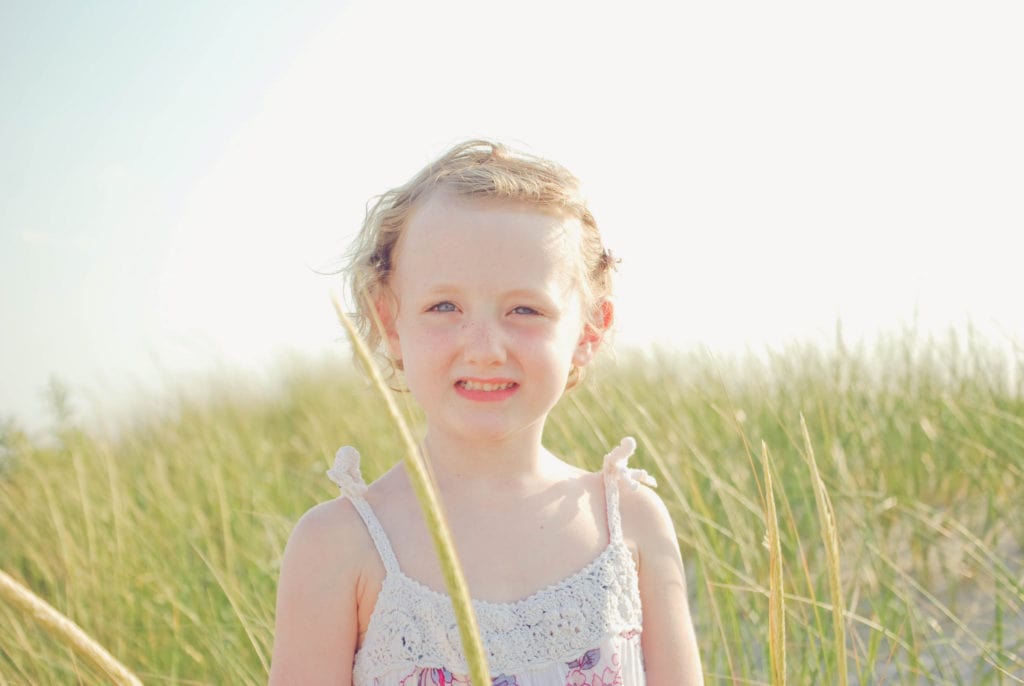
If you are photographing people, you want to make sure you put the sun to their back. This will help them not squint or complain that the sun is in their eyes! This is a problem I run into with my youngest time and time again. Instead, you want the sun to be in your eyes! This will create a nice backlit photograph and eyes to be wide open.
Look for shade.
I know this isn’t always possible but you would be amazed at the creative ways you can find some shade. If you are on the beach, take a walk to the boardwalk and get some shade there. If there are dunes, go behind them. Sometimes, if there’s absolutely no shade, I’ll have mom or dad stand over the child to create some shade or to block the sun.
Remember the Exposure Triangle.
Understanding exposure is key when shooting in full mid-day sun. Make sure to keep your ISO low (100 or 200 – maximum). Try a shutter speed of 1/100 or 1/125. You don’t need a fast shutter speed since you have a strong light source. That brings us to aperture.
Practice the Sunny 16 Rule.
Sunny 16 is a rule that says to set your aperture to 16 when in bright sun-lit situations. Start at f /16 and work from there. Too dark, bump your aperture up. This is not a time to be shooting wide open at f /1.8 or f/ 2. You will have a completely blown out picture if you do.
Check your White Balance.
Here is where understanding white balance really comes into play. This is when I like to set a custom white balance so that my colors are correct. If I don’t set a custom white balance, I keep it on cloudy (personal preference). Play around with your white balance options until you are happy with your colors.
Watch For Color Casting.
Color casting can ruin your image if you aren’t careful. Try using a reflector (or something as simple as a piece of paper) to reflect more light onto your subject. By bringing in more light, you cut down on the color casting.
Use Lens hood.
I keep my lens hood on my lens 100% of the time. 98% of the time I am using it as extra protection for the lens in case I bump into something. The other 2% it is helping to filter out sun flares or glares on my pictures. If I want to catch some sun flares, I just take it off!


I recently learned about the sunny 16. I usually check my histogram. I guess I should play around with both of them to see what gives me a better outcome.
I didn’t know about the lens hood, now I need to check to see if one came with my lens. Thanks for sharing about the sunny 16 rule. I didn’t know about that either.